After creating the game-prototype, it was finally time to begin working on the level. First, I created some rules on how I wanted the player to experience the level
- There should be three problems to solve, each should be a little bit harder and/or different than the previous one
- Small to big: as the player proceeds through the level, the environments should become bigger and more wide
- Taking the story into account (the compound is located in the mountains), the player should always have the feeling he is emerging
- Environmental storytelling: In my opinion, this is the best way of storytelling and I wanted to have some of that in my level too. Environmental storytelling encourages the player to use his imagination instead of just telling him what happened.
References
For references, I took a close look at Deus Ex: Mankind Divided as well as some footage of real sewer systems. There is a good resource for sewer history, which also features lots of great reference images (https://www.sewerhistory.org/)
Layout
I then started with a very basic sketch of my level.
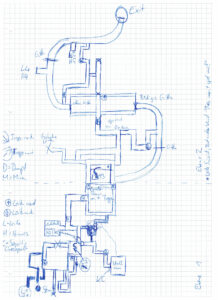
Following the rules for my level, I created some distinct areas:
- The starting area should be very narrow and maze-like, with just a couple of rooms to enter
- The second area should feature both narrow hallways as well as some wider areas. Also there should be more rooms.
- The third area should be a lot more wide, with bigger tunnels, lots of rooms, etc. Here, the player should be guided the least and player-exploration should be encouraged.
Modular Sets & Assets
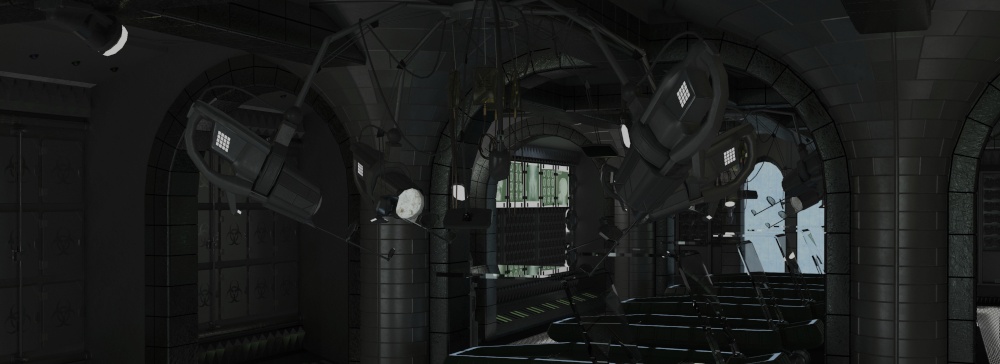
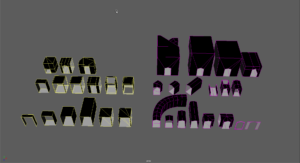
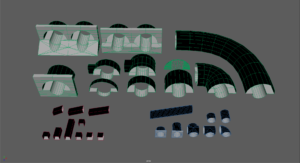
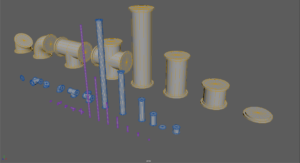
To create a sewer evironment, you need to have some distinct elements. You need narrow corridors, tubes, pipes and ducts. Also, I wanted this environment to feature sections where the player navigates through sections which feature a more „administrative“ look, almost like in the basement of an office. So, I decided to create some very simple modular sets in Maya LT to help me block out the level easily. For the rooms, I decided to block them out directly in Unity until I was happy with the layout and then do the final iteration in Maya LT.
For quickly placing dead guards and mechanics in the level, I was using character-models from mixamo.com.
Iterations
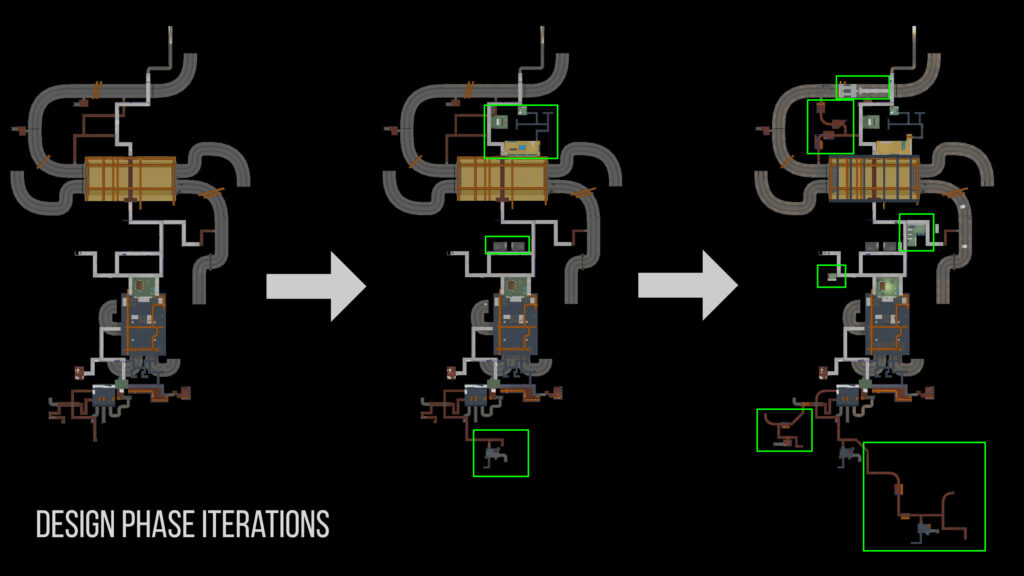
Since I was designing this level completely on my own, it was a tough task to „emulate“ real playtesting, where usually you have other people testing your level. To make sure I get the best results possible, I had to be absolutely honest with myself and call me out on things I messed up (which I did).
I did iterate quite a lot on this level, but basically it came down to three big iterations which I will describe below.
Base
I decided to integrate some basic lighting and some different untextured materials to give context and mood to the level. Also, I wanted to have at least some kind of interior, so the places feel like actual places early on. After playtesting my initial level I realized: Having the player start somewhere in the middle of a narrow corridor without context might be somehow mysterious, but it is not encouraging but rather frustrating. Also, the player was able to get to the first challenge too quickly, so this had to change. Apart from that, I was quite happy with how the first section of the game turned out. The second section was basically what I intended it to be, but it did not feel right yet, because the corridors all looked the same.
I was not happy with the third section of the level. As I pointed out earlier, I wanted this section to be focused on exploration, leaving the pacing in the players hands. However, it turned out this section was not fun to play. The only thing the player has to do was finding the correct way through a maze of tunnels, which is not challenging at all. So, this section needed an overhaul.
Iteration 1
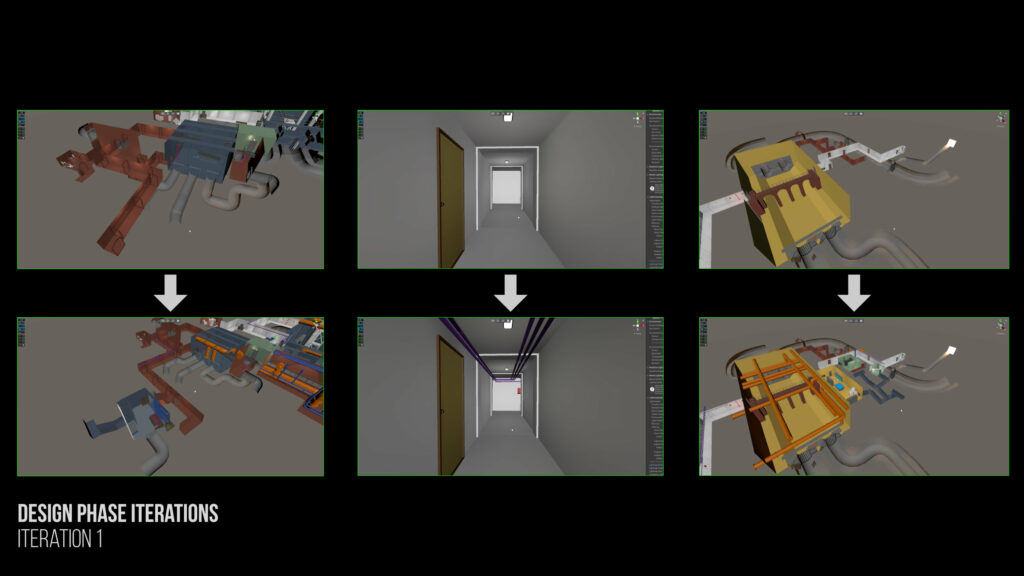
In iteration 1, the player start was moved from somewhere in the middle of the tunnels into a small sewer-room with a ladder from a manhole above. I also included some environmental storytelling by setting up a small resting place for a waif. Starting in this room should give the player more context and also immediately immerse him in a situation where he is curious about the environment.
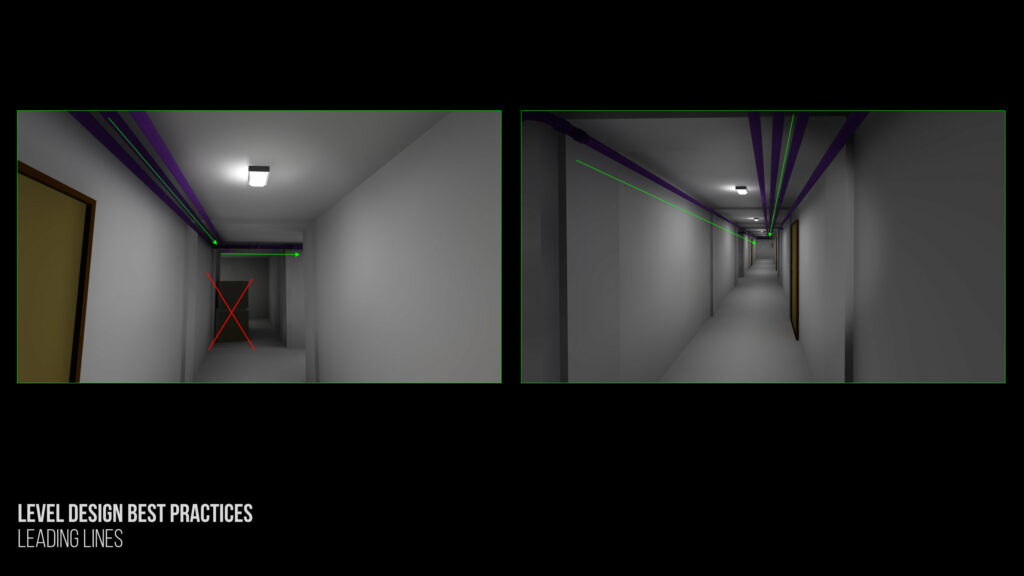
Next, I included some simple pipes as visual cues so the player wont get lost in the corridors, which were looking too similar in the initial blockout. I also used the pipes for some leading lines when I wanted the player to be guided into one specific direction.
Section 3 was where I spent most work on, since I was definitely not happy with the initial version. I wanted the player to have a more challenging and rewarding experience in this section, so I came up with another riddle, where the player has to find a keycard to access a terminal, which then opens the final door in the level. For this, I added some more rooms where I could place the terminal and keycard.
Iteration 2
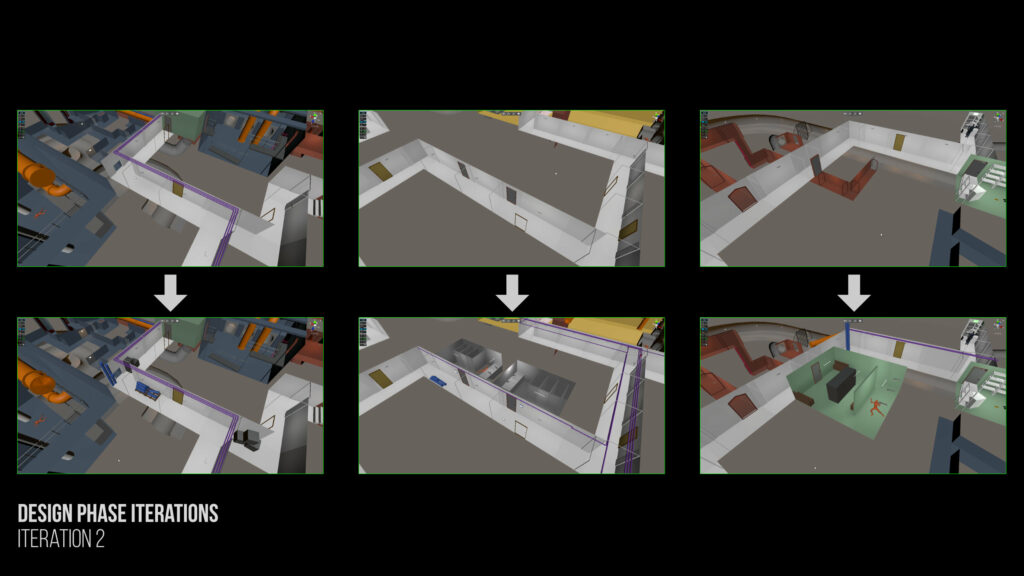
After some playtesting, Iteration 1 felt definitely better than the initial version. It was more challenging thanks to the new keycard-riddle in Section 3 and also I felt more immersed when playing because of the environment where the player starts. Still, I sometimes got lost in some of the corridors, because even with the pipes the corridors looked very samey, so I decided to add some more decorations for easier navigation. Also, I had the feeling the level was too straightforward, so I included some more rooms for the player to explore.
Iteration 3
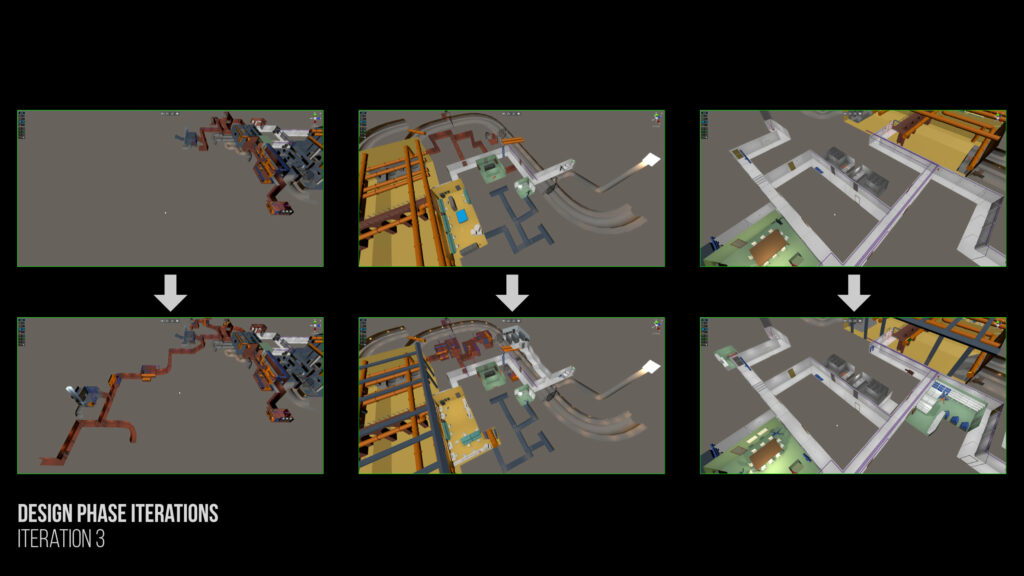
Before working on iteration 3, I took some time to think. As mentioned before, it can be quite hard to playtest your own levels, because you have all the information and know the layout. So I took a step back and really tried to get into the head of someone who never played this level before. This was challenging, but rewarding: I finally realized there still were some flaws in my design, which I just didn‘t see before.
The first thing I changed was the room where the player starts. Having the player start in a room with a resting place does not imply that a waif is living there but rather that the player might have set up camp here. Also, because of the layout the player was still able to get to the first challenge too quickly. So, I added some more tunnels and rooms to have a bigger distance between the playerstart and the first challenge. Also, I added some rooms with ladders to give the player some more variation on his way. I kept the room with the waif-camp, it now acts as first exposition-experience for the player.
Then I redesigned the control-room. Granted, the whole interior so far was only placeholder stuff because I will start on environment design once I am happy with the level. Still, I always felt the room did not play well, because of the objects I placed in there and how I placed them in there. So I changed most of them and deleted some of them for achieving a better flow. Also, I tweaked the geometry of the room to better hide the vent which leads to the keycard.
I then added a couple more rooms (Server-room, infirmary, second storage) which helped me create more mystery and storytelling. Also, the player is now able to explore a bit more, giving him more time to get immersed. I think I reached the sweetspot here, adding even more rooms would no longer benefit the gameplay.
Incorporating Level Design Best Practices
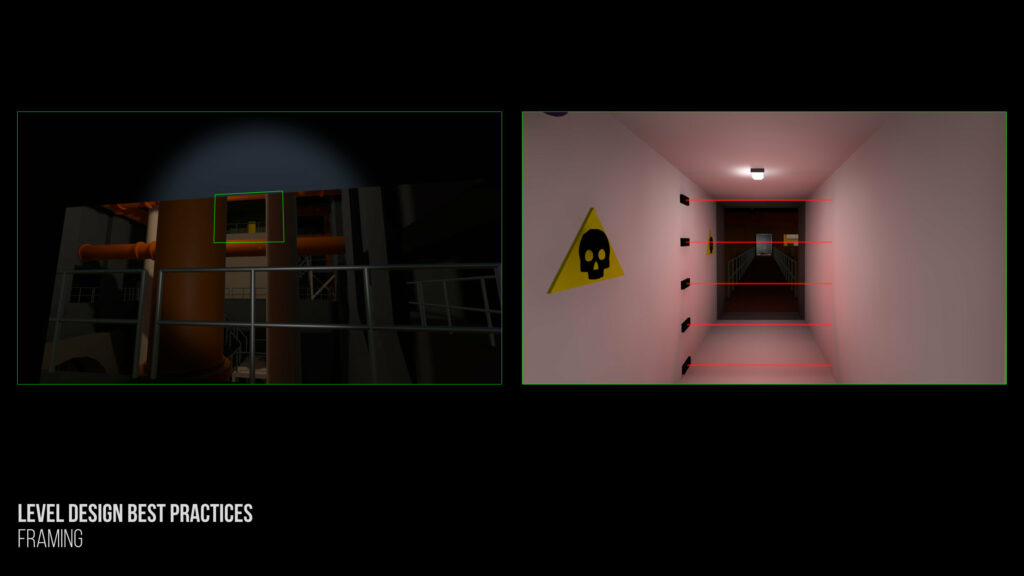
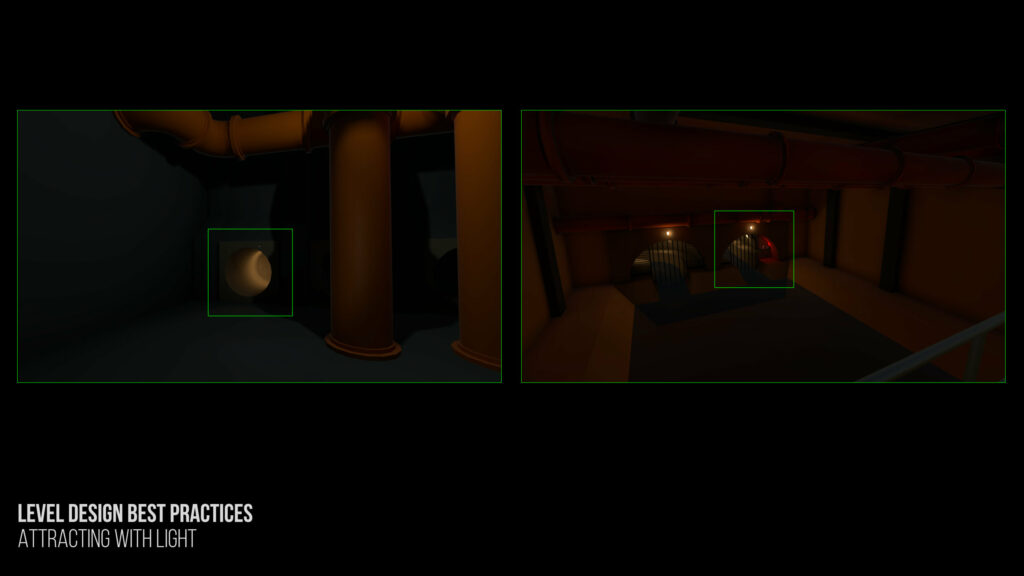
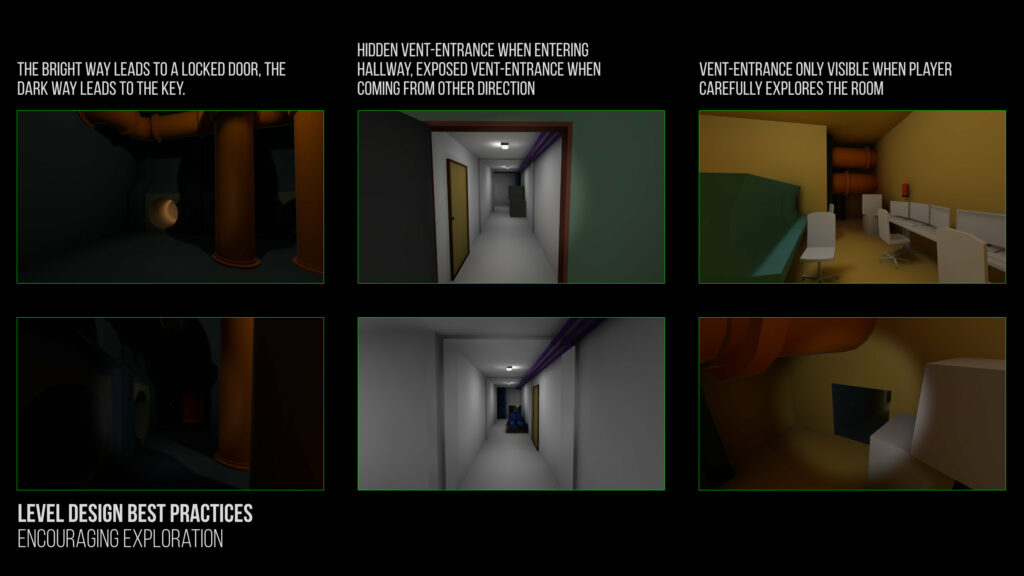
In level design, there are some best practices to keep in mind. When designing this level, I tried to incorporate some of them where it suited the level, often combining them. Below you will find some examples.
Designing the puzzles
Overall, the challenge for the player is to find a way from the start to the exit. Taking the narrative into account, the player has to find a way through the sewers to reach the compound, which can‘t be accessed safely on the surface. On his way, the player has to solve three puzzles to make things more interesting. All of them revolve around an obstacle which is preventing the player from progressing through the level, and all of them can only be solved by exploring the level.
Puzzle 1: Bridge is damaged, how do I reach the Room?
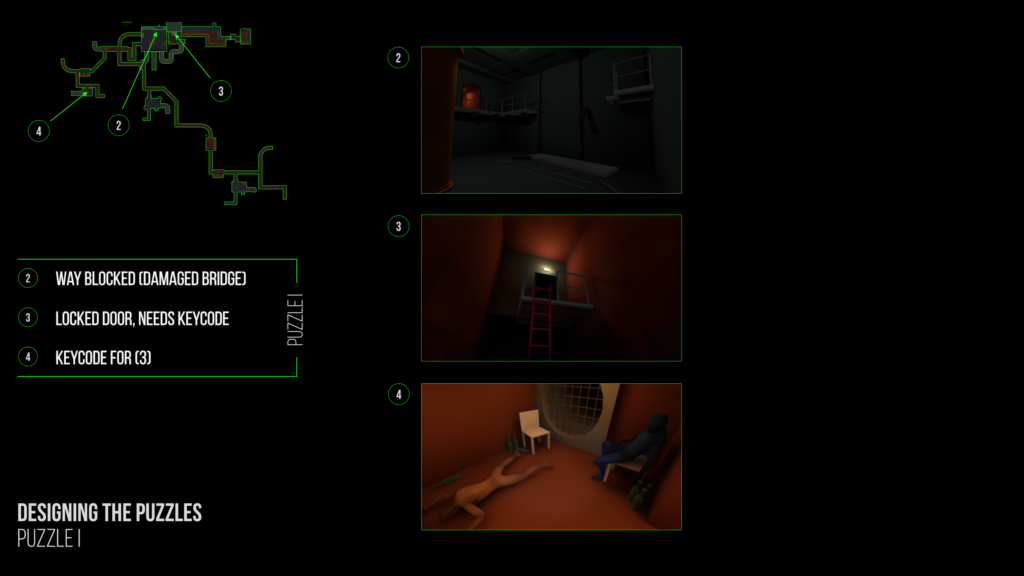
This is the first puzzle the player comes across. The player reaches a room where he has to cross a bridge to get to a door, but the bridge is damaged. The player has to find the way to a second door where he can enter this room. However, this door can only be opened with a correct keycode. So, the desired flow should be like this:
Player discovers riddle → Player finds way to second door → Player starts exploring the level → Player finds keycode → Player opens door with keycode
While it is possible the player finds the keycode before he finds the locked door, I tried to lure the player the intended way by highlighting the way to the door and keeping the way to the keycode dark.
Puzzle 2: I need to get into that big room, how do I get there?
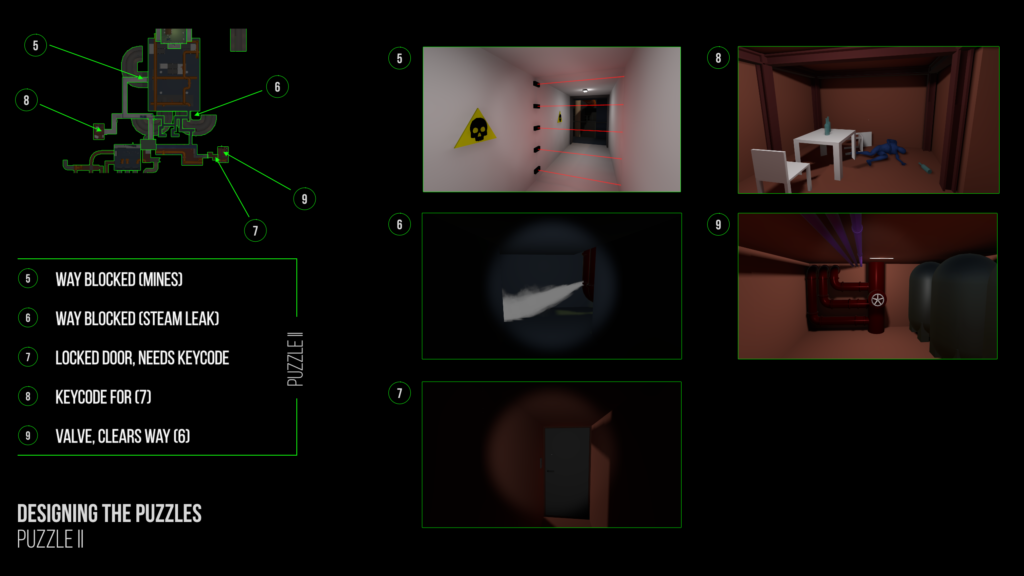
The second puzzle, while still being straightforward, should provide more freedom for exploration. This already starts inside the room the player enters after solving the first puzzle. He now has two unopened doors from which he can choose his way.
- Door 1 leads into a big pipe-room with a ladder to a locked door at the end of the room. The door can again be opened with a keycode.
- Door 2 leads into a hallway. The hallway directs the player to a huge storage-tank, but the way is blocked by mines. The same hallway also leads to a small room where the player can find the keycode for the locked door in the pipe-room.
Both the hallway and the pipe-room are connected through a vent-system, which also leads to the huge storage-tank described above. However, this path is blocked by a steam-leak from one of the pipes in the vents.
So, to solve this puzzle, the player has to find the keycode, which he will use to open the locked door in the pipe room. There, he can turn a valve which will then stop the steam from blocking the way. The player can then access the storage-tank through the ventilation system.
Since I wanted the player to experience more freedom of exploration for this puzzle, I only used a few tricks for guiding the player or hiding something from him. In the hallway, I wanted to encourage the player to first find the mines and have a look at the storage tank before he discovers the vent. So I tried to block the view to the vent-entrance with some crates and use pipes as leading lines to guide the player towards the mines. When the player returns, the vent-entrance is clearly visible. Also, I used some crates to block some of the corridor leading to the room where the keycode is located.
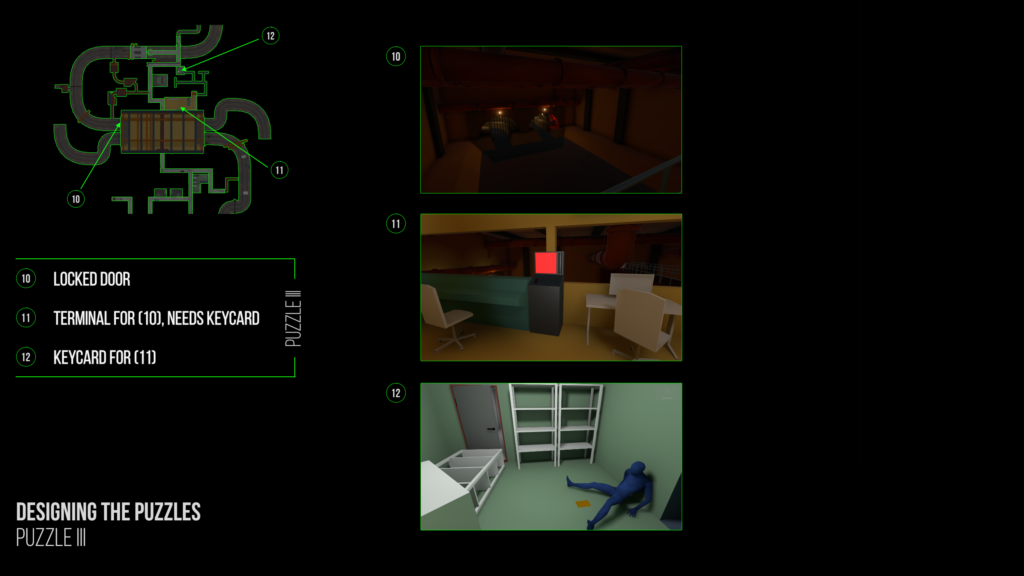
Puzzle 3: How and where can I open the door to the duct?
Puzzle 2 did follow immediately after the first puzzle, so I decided to give the player some time to explore the sewers and find some environmental storytelling-places and also some notes before engaging him in the third and final puzzle of the level.
Puzzle 3 contains the following elements:
- A locked door, this time a door in one of the ducts without a keypad. This introduces a known problem, but with a catch (the player has encountered closed doors before, but they could be opened with the correct keycode while this door has no keypad).
- A terminal, which is located in a control-room. This can be used to open the door in the ducts. However, an access-card is needed for the terminal to work.
- An access card for the terminal, located near a dead guard inside a storage room.
To get the access-card, the player has again to crawl through a ventilation-system, connecting the storage room and the control-room. Like in the second puzzle, I wanted the player to find the pieces for this puzzle on his own terms, but I did not want the vent entrance in the control room to be found first, so I hid it with crates and also used some big pipes to create the impression there is nothing to discover in the area where the vent-entrance is located.
Final Words
All in all I have to say I am really happy with how this level turned out in the end. Now, it is time make it look good! So the next step will be to exchange my blockouts with some nice looking game assets!

